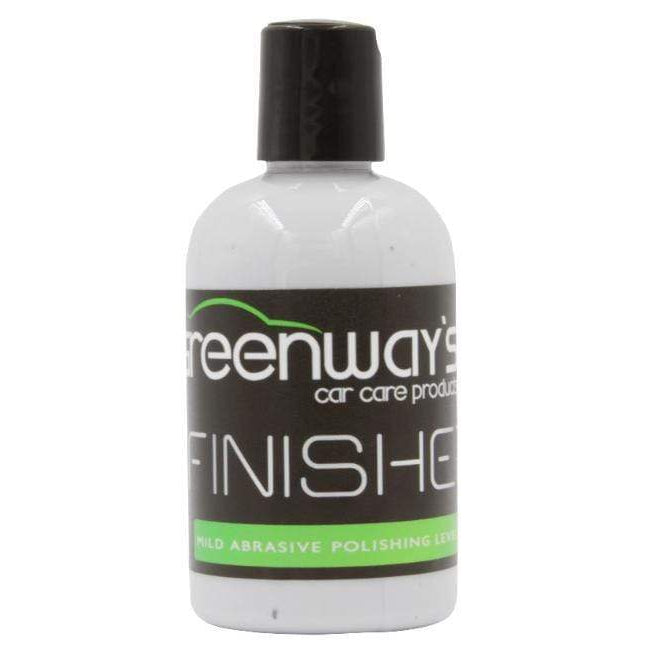
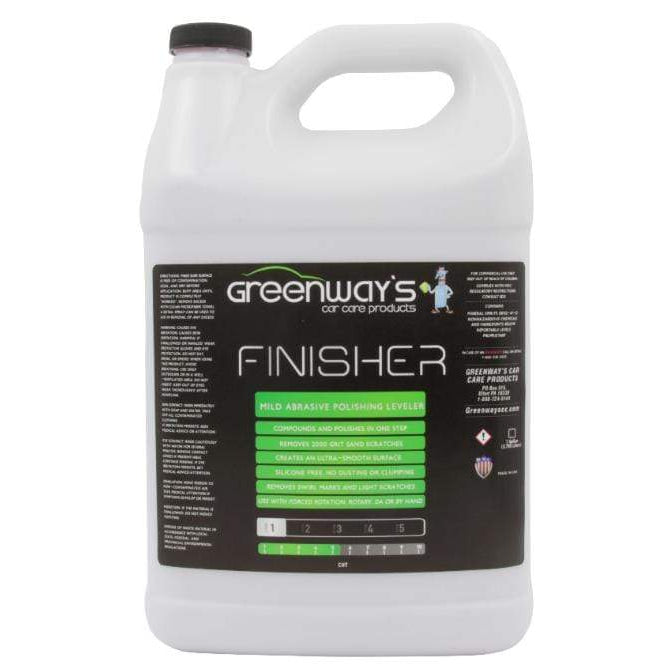
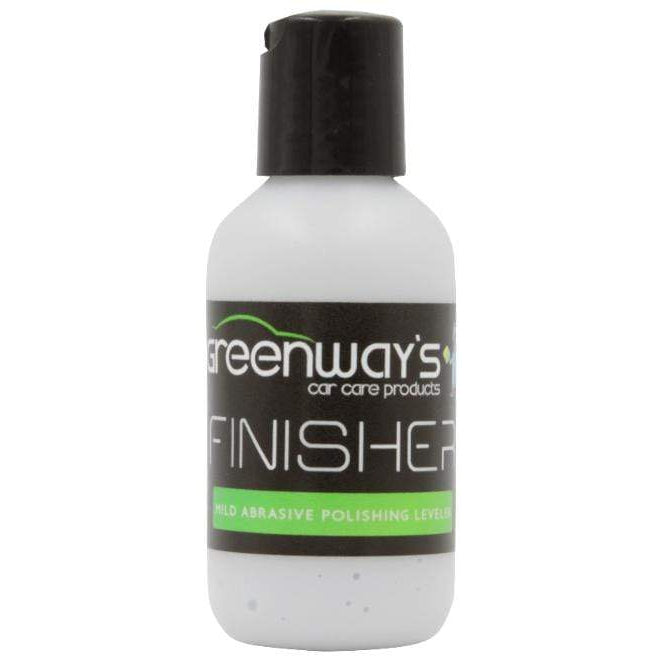
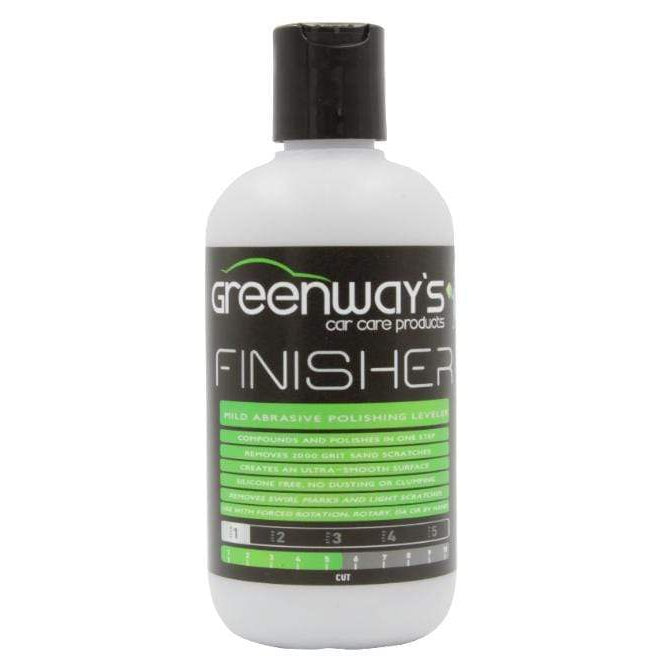
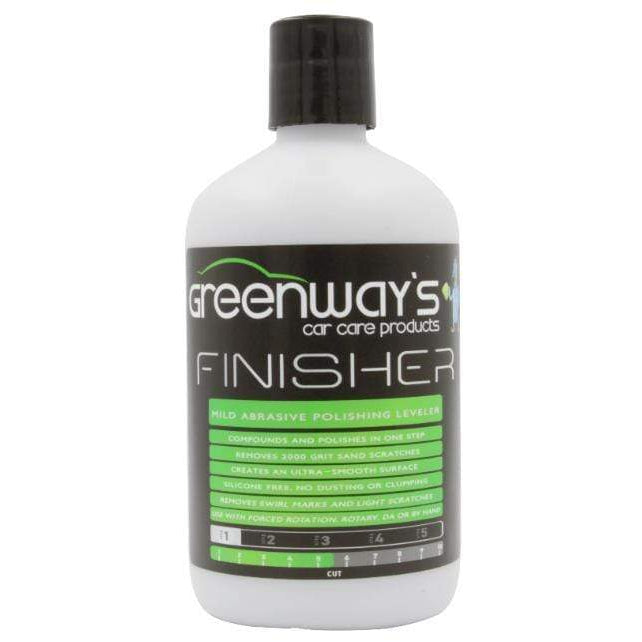
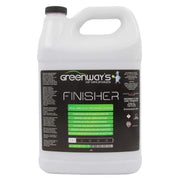
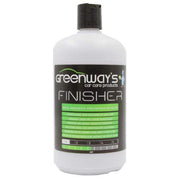
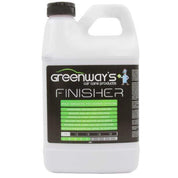
Greenway's Finisher
Get quick access to our straightforward shipping and return policies, ensuring a smooth shopping experience every time.
To know more please click here.
Explore essential tips and resources to launch your own successful mobile auto detailing service with confidence. Read the blog here.
Unlock exclusive discounts and promotions to maximize your savings on top-quality detailing products. Check our "Sale" page.
-
Mildly abrasive polish and leveler in one
-
Removes 2000 grit sand scratches without marring the surface
-
Silicone free and body shop safe
-
No dusting or clumping
-
Removes light swirl marks and scratches while leaving a polished appearance
-
Follow up if desired with a pure polish for added gloss
Greenway’s Finisher is a mildly abrasive polish and light leveling compound combination. This product is perfect for those looking to provide more than a one-step product can achieve in aggressiveness. While an All In One product is an excellent time-saver, sometimes they are not enough for a neglected painted surface, or the buffing pad and product combination might be too aggressive for sensitive paint. Issues may arise where you remove the more significant defects with the appropriate pad and product variety, but minor imperfections such as marring remain. This wax-free, sealant-free formula lets users figure out what type of protection they want to apply afterward.
Finisher allows you to add slightly more cut right out of the bottle while leaving the ability to downgrade to a lighter pad. This combination is excellent to use where the vehicle’s paint may be slight to moderately neglected and simultaneously “sensitive.” While the method of removing paint defects varies from vehicle to vehicle, having a variety of products in your detailing arsenal helps tremendously.
Finisher breaks down without creating dust, which is a tedious task for cleanup and does not clump during the polishing stage. While most compounds on the market require further polishing to revive the paint, Finisher produces a gloss on the surface that might allow the user to proceed to their wax or sealant stage.
The finished panel outcome will be affected by the pad choice, the pressure applied, and the machine choice. Finisher allows you to remove defects gently by throttling back the machine’s pressure and speed while effectively breaking down the nanoscopic abrasives to produce a high gloss.
Finisher works excellently with rotary, dual-action polishers, long-throw machines, and even by hand. When the surface is prepped correctly and decontaminated, this product will allow you to quickly produce defect panel-free results without the headaches of dusting, swirling, clumping.
Finisher works excellent on polishing plastic, windshields, plexiglass, exterior trim, and more. It leaves behind a smooth surface, which allows you to protect the vehicle with the top coat of your choice. After this application, use other protection products, which are wax-free, ceramic coatings, waxes, and polymers since Finisher is wax-free. This product left alone on the surface will not provide any protection. You can view some of our sealants and waxes here.
How to Use:
The most crucial step of the detailed process is to start with a clean surface. Before using this product, prepare the vehicle by removing insect residue, tar, and paint contamination using a clay process or fallout remover.
Apply a small amount of product onto a foam pad and slowly work into the painted surface with the machine off. The small amount will help avoid any product sling. If you are an experienced detailer, you can slowly accelerate the device right away without any product sling.
Work the product until Finisher becomes nearly invisible. Many auto detailers rush this step. If you do not work the product thoroughly, you will not allow the product’s abrasives to diminish completely.
Wipe the area with a soft microfiber towel. Check your work and proceed to the next panel if the pad and product combination produces the desired result. You can always switch the pad to a more aggressive foam pad if necessary. Always start with the least aggressive pad and work your way up the pad aggressiveness level. Working up the pad aggressiveness level is especially true for the enthusiast detailer who does not have the experience to quickly choose the correct pad and product combination.
Car Detailing Tech Tips:
-
Always work in small sections.
-
Ultimately work product until nearly invisible.
-
Always use dedicated microfiber towels to ensure no marring is placed back onto the surface after being removed during the buffing stage.
-
Paint surface preparation is the answer to a flawless finish.
-
Use a quick detailer such as Wipe Away to aid in the removal of excess product.
-
Just because you do not see any product on your buffing pad does not mean it is not present. A mist of a detail spray held approximately 10 inches away from the pad will release any product remaining inside it. This step helps prevent product overload.
-
Keep pad clean by using a pad cleaning tool frequently to avoid the buildup of product.
-
“Dry buffing” can easily be felt when the machine becomes unstable on the painted panel. More product is needed to replace the lubrication barrier between the buffing pad and the painted surface.

